
Your laptop was not designed to be used flat on a desk for eight hours a day.
This isn’t a critique — it’s just physics. A laptop’s screen sits 4–6 inches below the optimal eye level for most people when placed flat on a desk surface. To see it comfortably, you tilt your head down. That position shifts your head forward. And here’s the part most people don’t realize: for every inch your head moves forward from neutral position, the effective weight on your cervical spine increases dramatically. Research from Surgical Technology International found that at a 60-degree neck bend — roughly what happens when you look down at a laptop on a desk — the effective load on the cervical spine reaches approximately 60 pounds. Your head weighs 10–12 pounds. In neutral position, your spine handles that weight efficiently. Tilted forward at a laptop screen, the muscles and joints compensate for forces many times that.
Do this for hours every day over months and years, and the result isn’t dramatic — it’s just a slow accumulation of tension, stiffness, and eventually the kind of neck and shoulder discomfort that starts to feel like it’s just how your body is now.
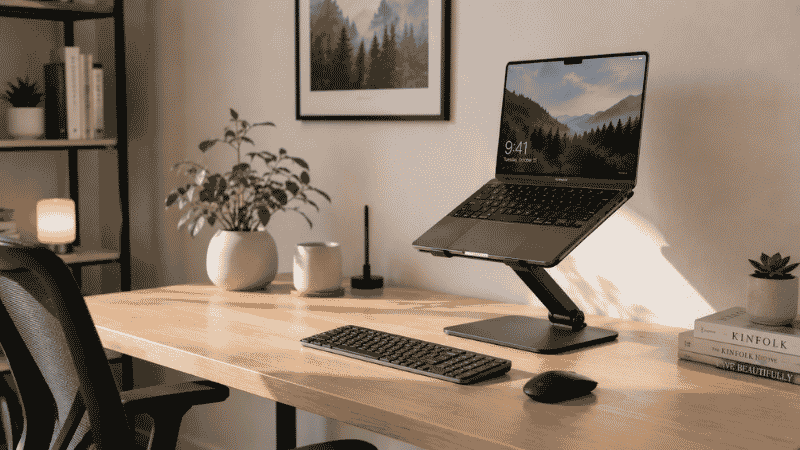
An adjustable laptop stand fixes the screen position. It’s not a complex solution, but it works.
Key Takeaways
- A laptop screen sits 4–6 inches below optimal eye level when flat on a desk, causing most users to adopt a sustained forward-head posture that adds significant strain to the cervical spine
- An adjustable laptop stand is significantly better than a fixed-height stand for one key reason: your ideal screen height depends on your specific torso length, chair height, and desk dimensions — a fixed stand calibrated for someone else may not work for you
- A laptop stand must be paired with an external keyboard and mouse — elevating the laptop without adding these peripherals trades neck strain for wrist strain, which is not an improvement
- Budget entry point for a functional adjustable stand: $20–35; spending more buys sturdiness, stability, and larger adjustment range, not meaningfully better ergonomics
- The “stack of books” method actually works as a temporary fix — but it creates instability and doesn’t ventilate the laptop; a proper stand costs less than two cups of coffee per month over two years of use
The Test You Should Do Right Now

Before looking at any specific product, do this. It takes 90 seconds.
Sit in your normal working position at your desk. Sit up straight — not rigidly, just with reasonable posture. Look straight ahead. Hold your hand flat at eye level. Now look at where the top of your laptop screen sits relative to your hand.
If the top of your screen is more than an inch below eye level, you are working in a forward-head position for however many hours a day you use that laptop. The gap between your hand and the top of the screen is approximately the vertical adjustment your laptop stand needs to provide.
Most people who do this test discover a gap of 3–6 inches. That measurement tells you more about which stand to buy than any product review.
Why Adjustable Beats Fixed Every Time
This is the most important choice in the laptop stand category and the one most buyers get wrong.
Fixed-height laptop stands are common, inexpensive, and often beautifully designed. They raise your laptop to a predetermined angle and height. The problem: that predetermined height may be correct for someone of a specific height, using a specific chair, at a specific desk. Change any of those variables — your height, your chair, whether you’re using a standing desk converter — and the fixed stand may put your screen too high or too low.
An adjustable laptop stand for desk use lets you dial in the exact height that puts the top of your screen at eye level for your specific body and setup. This is the single most important ergonomic variable for laptop use.
The adjustment range matters too. Look for stands with at least 4–8 inches of vertical range. The wider the range, the more likely you’ll find the exact position you need. Some premium stands offer continuous adjustment (dial in any height within the range); others offer stepped positions (fixed increments). Both work — stepped is usually more stable, continuous is more precise.
What Happens If You Get a Laptop Stand Without an External Keyboard
This is the part that most laptop stand guides skip, and it matters.
When you raise your laptop to eye level, the keyboard moves up with it. If you’re typing directly on the raised laptop keyboard, your arms are elevated, your wrists are angled upward, and your shoulder muscles are doing sustained work to keep your hands at that height. You’ve solved the neck problem and created a wrist and shoulder problem.
The correct setup is: laptop stand to raise the screen + external keyboard and mouse at desk height. This positions your screen where your eyes need it, your keyboard where your hands need it, and your mouse where your arm can reach it without strain.
A basic wireless keyboard and mouse runs $35–60. A laptop stand runs $20–40. The complete ergonomic improvement — screen at eye level, keyboard at elbow height — costs under $100 total and takes about ten minutes to set up.
If you already have a laptop stand but no external keyboard, you’ve made a partial fix. Add the keyboard. It completes the setup.
Types of Laptop Stands: Which One Matches Your Situation
Adjustable Laptop Stand for Desk (Fixed Location)
The most common category. Sits on your desk, holds your laptop at an elevated angle, adjusts to different heights. Best for people with a dedicated home office desk who want a stable, permanent setup.
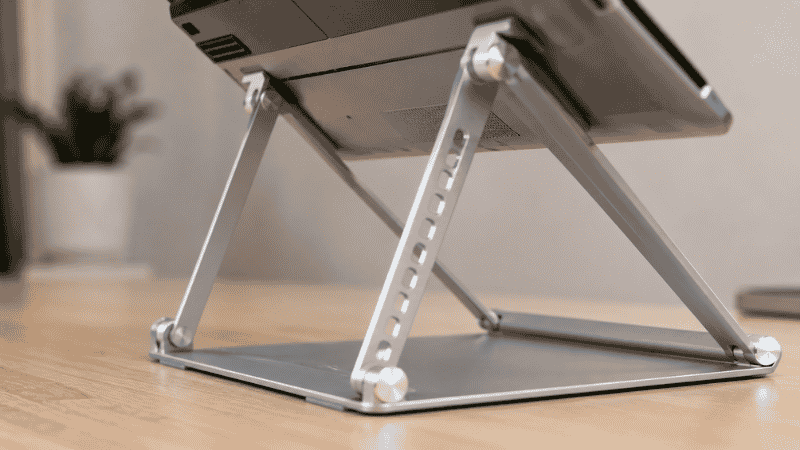
What to look for: aluminum or sturdy plastic construction (avoid flimsy plastic that wobbles when you type), non-slip pads to grip both the desk and the laptop, ventilation gaps to allow airflow underneath the laptop (important for thermal management, especially with MacBooks), and a height range that covers at least 4–8 inches.
Strong options in this category: the Nexstand K2 (~$25–35) is consistently praised for its combination of stability, adjustability, and portability. The Rain Design mStand (~$40–50) is a popular fixed-angle aluminum stand — beautiful, stable, but not adjustable. For users with a MacBook, the aesthetic match is appealing; for ergonomic flexibility, the Nexstand’s adjustability is more valuable.
Portable and Foldable Laptop Stand

For people who work in multiple locations — home desk, coffee shop, client offices. A foldable laptop stand packs flat and weighs 200–400g, fitting easily in a laptop bag.
The tradeoff: portable stands sacrifice some stability compared to heavier desk stands. Look for models with positive lock mechanisms that keep the stand from folding under load while you’re using it.
The Nulaxy Laptop Stand (~$20–28) and MOFT laptop stand (~$30–40) are the most commonly recommended portable options. The MOFT attaches to the laptop itself (adhesive or clip mount) and folds flat against the laptop body — minimal pack size but limits how high it can raise the screen.
Laptop Stand with Cooling Fan
For users with gaming laptops or older machines that run hot. The fan helps manage thermal performance, which can affect processing speed and longevity.
Worth considering if: your laptop gets noticeably warm during work sessions, you notice performance slowdowns during extended use, or you work in a warm environment. Not necessary for most modern ultrabooks and MacBooks, which have effective passive cooling.
How to Set the Right Height
Once you have an adjustable stand, setting it correctly takes about five minutes.
Sit in your normal working position. Adjust the stand until the top of your laptop screen is approximately at or slightly below eye level — the specific target is that when you look straight ahead, you’re looking at the top third of your screen. Not the very top edge, not the bottom half.
After adjusting, work for 20–30 minutes. Pay attention to your neck position. If you’re still looking slightly down, raise the stand. If you find yourself tilting your chin up to see the screen comfortably, lower it slightly.
The correct height is confirmed when you can work for an extended period without consciously noticing your head position — your neck is in neutral, you’re looking at the screen naturally, and you’re not making micro-adjustments every few minutes.
One thing to check after setting height: make sure your laptop isn’t blocking airflow underneath. Lift the back edge and confirm there’s visible space between the laptop bottom and the desk surface. This is where the ventilation gaps on most stands matter.
Laptop Stand vs Monitor Arm: When Each Makes Sense
This question comes up when someone already has an external monitor and is wondering whether they need a laptop stand too.
If you use an external monitor as your primary display: your laptop stand primarily serves to get the laptop screen out of the way and at a usable secondary height. In this case, a simple fixed riser or even a basic stand works well — the exact ergonomic precision matters less because you’re not looking at the laptop screen for hours.
If your laptop is your only display: the laptop stand is the ergonomic intervention. Height adjustability matters significantly, because you’ll be looking at this screen all day.
If you want maximum flexibility: a monitor arm ($40–80) combined with a laptop stand gives you the ability to position an external monitor precisely at eye level while using the laptop as a secondary screen elevated on the stand. This is the optimal dual-screen home office setup for laptop users.
If You Only Have 10 Minutes Right Now
Do the eye-level test described at the top of this article. If your screen is more than an inch below eye level, find the nearest object on your desk — a box, a ream of paper, a stack of thick books — and put your laptop on it.
Look at that. That’s what a laptop stand does. The improvised stack works for the immediate test, but it’s unstable and blocks ventilation. A proper adjustable stand costs $20–35 and replaces the improvised solution permanently.
If you have an adjustable stand but haven’t paired it with an external keyboard: add one this week. The Logitech K380 wireless keyboard is $40 and completes the ergonomic equation.
When to See a Professional
A laptop stand addresses posture problems caused by screen position. It doesn’t treat existing injuries or chronic conditions.
If you have persistent neck or shoulder pain that doesn’t improve after a few weeks of working with correct screen height and an external keyboard, or if you experience numbness, tingling, or pain that radiates into your arms or hands, see a physiotherapist or your primary care physician. These symptoms can indicate nerve involvement that requires professional assessment, not just a workspace adjustment.
A laptop stand is prevention, not treatment. Use it to keep problems from developing; see a professional to address problems that have already developed.
FAQs
Is a laptop stand worth it for working from home? Yes, if you use your laptop as your primary display for more than two hours daily. A laptop on a flat desk puts the screen 4–6 inches below optimal eye level, causing a sustained forward-head posture that accumulates strain over time. A stand that costs $20–35 eliminates this postural problem. It’s one of the highest-value ergonomic purchases available at that price point.
What height should my laptop stand be? The correct height puts the top of your screen at or slightly below eye level. Sitting in your normal working position and looking straight ahead, you should see the top third of your screen without tilting your head down or up. The specific measurement varies by your height, chair height, and desk height — this is why adjustable stands are preferable to fixed-height options.
Do I need an external keyboard with a laptop stand? Yes, if the stand raises your laptop more than 2–3 inches. Raising the laptop screen without adding a separate keyboard moves the keyboard upward too, causing elevated arms and wrist strain. The ergonomic improvement is only complete when: screen is at eye level (via stand) and keyboard/mouse are at elbow height (via external peripherals).
What’s the difference between a laptop stand and a laptop riser? Functionally, the same thing — both elevate your laptop above desk level. “Laptop riser” tends to refer to simpler, lower-profile risers that raise the laptop a fixed amount (often 2–4 inches); “laptop stand” often implies more adjustability and height range. For ergonomic use, look for adjustability regardless of which term is used.
Can I use books instead of a laptop stand? Yes, temporarily. A stack of books works as an immediate fix to test whether a raised screen helps your comfort. The problems: books are unstable and can shift while typing, they block airflow under the laptop (causing heat buildup), and they don’t offer precise height adjustment. A proper stand solves all three issues for $20–35.
Small Change, Noticeable Difference
The adjustable laptop stand is a small purchase that has an outsized effect on how you feel at the end of a work day. Not because it’s revolutionary technology — it’s a metal frame — but because it corrects a persistent postural problem that accumulates strain invisibly over hundreds of hours of laptop use.
The setup is straightforward: stand to raise the screen, external keyboard and mouse to keep your hands at the right height. Twenty minutes of configuration, $60–80 total, and your laptop becomes an ergonomically functional workstation instead of a device that slowly tightens your neck.
Related Articles on CircuitSeek
- Best Ergonomic Keyboard for Home Office →
- Vertical Mouse: Does It Actually Work →
- The Complete Home Office Setup Guide →
- Eye Strain Relief for Remote Workers →
- Desk Organization Ideas That Actually Stick →
References
- Hansraj, K.K. (2014). Assessment of stresses in the cervical spine caused by posture and position of the head. Surgical Technology International, 25, 277–279. Referenced in multiple ergonomics publications for the “60-pound cervical spine load” finding.
- Cornell University Ergonomics Research Laboratory. Laptop Computer Ergonomics. https://ergo.human.cornell.edu/
- NIOSH/CDC. Computer Workstations eTool — Monitors. https://www.cdc.gov/niosh/topics/ergonomics/